It's arts and crafts time here in Foam Core Fantasyland! I figured I might as well do something to make my house look more like a home while I'm waiting for basic things like window and door frames, baseboards, doorknobs, etc. to happen. I discovered that hanging pictures is very therapeutic and makes the house look a lot more "done" even with all the ragged wallboard edges everywhere. Sometimes you have to put the cart before the horse I guess.
I'd previously had some fun adding squares of moulding to some rather plain doors, which really perked them up quite a bit. So I decided to try the same thing with some plain picture frames from Michael's.
For my first one, which I did back in January, I glued the moulding around the perimeter and painted it with some black Polyshades that was left over from our desk projects to match the black frame. Then I smeared Rub'n'Buff all over it and buffed it until it was shiny. I had to be careful to not get too much of the gold caught in the crevices because that would destroy the effect of the black. It worked out okay on the frame below. I used Grecian Gold, which is a browner and less bright color than the bright gold you often see on frames. I love the way it makes the frame look old, especially with the added moulding.

The picture below is actually a photo of the Renoir painting "By the Seashore" which was printed on a piece of canvas to make it look like a real painting. Cheesy, I know, but it looks great in our back hallway, especially after I made a frame for it. I picked up this "painting" at an estate sale - it was in somebody's basement and it was FILTHY! It only cost me 50 cents. You can't beat that. So the frame below is made out of a piece of moulding called "picture frame" and I got it at Home Depot. I painted it black with the Polyshades and rubbed on the Grecian Gold Rub'n'Buff. I think you can see where I accidentally got too much caught in the crevices on this frame.

Fast forward to Thanksgiving weekend. It was too cold to work outside anymore and I had some posters and and a few newly acquired watercolor paintings that I wanted to frame, and it just so happened that Michael's was having a crazy sale on frames - 3 frames for the price of one, plus 25% off your entire purchase. It was time to make my move and throw myself into getting it all done. I bought a ton of frames for an unbelievable price, and I've used them all.
I actually wasn't able to get started until a few days later. It took awhile to plan everything, and once I got started, I didn't want to stop. So it was a huge marathon of making frames fancier, inserting the pictures, and hanging them up, and it took several days to complete because of the quantity. I think you could actually do one or two frames all in one day pretty easily.
First I assembled my materials:

I decided to try a different approach this time, so I started by spray-painting several of the big frames. I wouldn't recommend doing this indoors, and after getting some residual paint spray on my face and in my mouth I WOULD definitely recommend wearing a dust mask and goggles. I was in too much of a hurry to fool with that though. I brought them inside to dry (in my living room) because it was so cold outside.
I used a Rustoleum "paint and primer in one" product in a hammered finish in a greenish silvery gold color called "Rosemary" for two of the frames, and did two more in a more normal gold color. I like the hammered finish because it has some color variation and leaves an interesting textured finish for the next things I was planning to do.

This time, instead of having a black base, I decided to use the Polyshades to get a glazed effect. I discovered that you must wipe it off immediately because it dries really fast. I like the way some of the black got caught in the texture of the spray paint, in addition to the crevices. I didn't move fast enough on this first one so more black paint was left behind than I actually wanted.

I didn't have to add mouldings to these frames because they already had a nice shape. After the spray painting and the glazing with Polyshades, I brightened them up with some Rub'n'Buff in "Goldleaf" which I thought would look better with the greenish yellow walls in my living room.
My friend Jennifer's mother gave me those beautiful watercolors this past summer. She had inherited a ton of paintings, many more than she could do anything with, and I am really enjoying them now that they are up. They look perfect in the room and I like knowing where they came from. Thank you Edna! I was very happy to find a frame size that worked without a mat, because I think a mat would detract from these particular paintings.

For the next painting I wanted to use a plain black frame with some moulding around the outside, so first it was cut and glued on. I got the moulding at Home Depot for less than ten dollars - it might have been five.

Then I spray painted it with the Rosemary colored hammered Rustoleum.

And then I smeared and wiped the black Polyshades in the cracks

After that I decided it needed to be browner to complement the trees in the painting, so I used Grecian Gold Rub'n'Buff.
And then I put the picture in and hung it in my bathroom where it perfectly matches the wall. The lighting caused this picture to look weirdly bright. The walls and the painting are actually a much softer and lighter version of the color you see below.

The next big thing to frame was a poster that I picked up at the National Gallery of Art earlier this year. I decided to use a tiny beaded moulding to go around the outside of this one.

So here it is, spray painted, glazed with black, Rub'n'buffed, and ready to go.

And now it's hanging in my foyer. And yes that is a well used bass flight case, also in my foyer because the garage is packed too full of Doug's stuff for it to fit in there. Needless to say, there are no cars in the garage either. And yes, that is a raw edge of wallboard on the side of this photo, typical of what you'll see throughout our house. But there are now lots of pretty pictures on the walls so who cares, right?

I think it's important to have a "fun" bathroom, so I have a tiny powder room that is packed full of framed old cat-themed sheet music and some music-themed pictures from the book "Pre-Raphaelite Cats" by Susan Herbert. I go (and "go") in that room when I need a laugh.
.jpg)
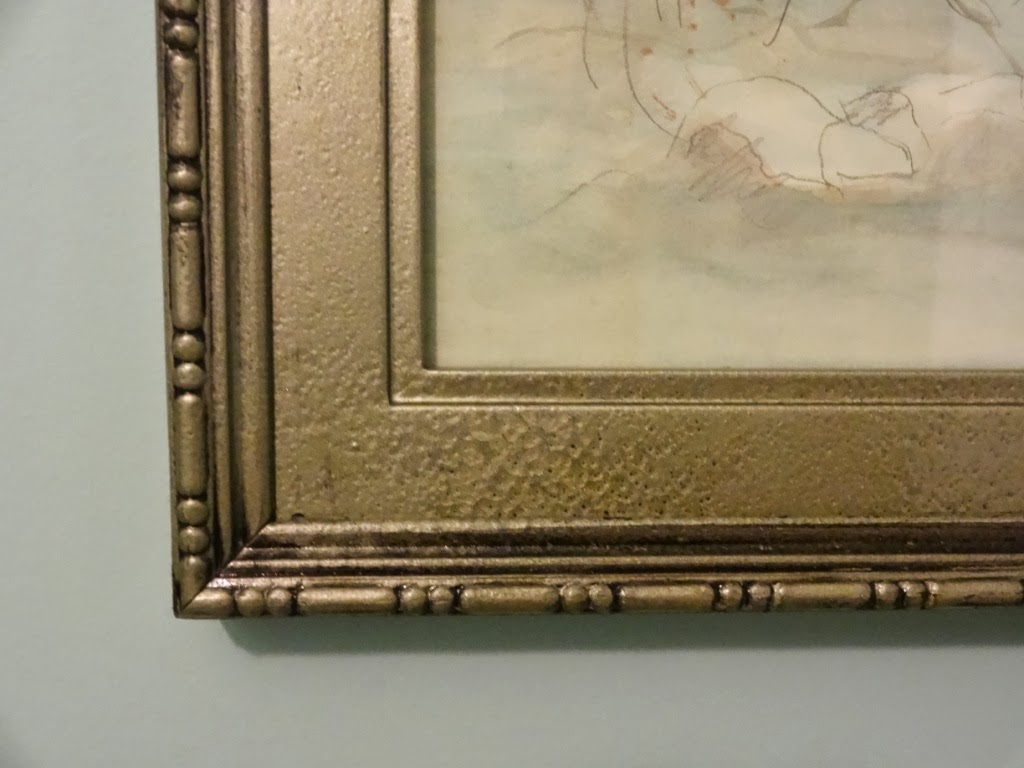
I bought this framed print on the Eastern shore. It was old and decripid. I cleaned it up and replaced the paper on the back, which was DISGUSTING and gave the frame a little dab of Grecian Gold. I think I've seen this picture in the National Gallery of Art but I don't know what the name of it is.
.jpg)
I bought this print for $3.00 last summer, thinking I would use the frame for a different picture and just toss the print because it was in really horrible shape. But then I decided that I really liked the print, so I painted the frame and got a mat cut for it. It looks a million times better now.

Last year Doug had a cruise gig and I got to go along, which was great, because I got to live in the lap of luxury on the same ship where I had formerly worked as a crew musician. So I took full advantage of all of the various activities, one of which was a daily afternoon art class. It was really fun, and I even talked Doug into coming with me one of the days. This is what he painted. I smile whenever I see it, thinking about him doing that art class with me because that's not really his thing at all.
I had a leftover mat that came with a frame I had used for something else. It has "fancy" metallic plastic beading going around it, so I took a cheap frame, mixed some gold and silver Rub'n'Buff together in a cup to get a color that matches the pale gold beading, and here's how it came out:

So there are all kinds of different ways to get a pleasant variety of framing effects, without spending a fortune on it. That Rub'n'Buff is amazing stuff!
1 comment:
I am impressed!
Post a Comment